Getting Started
Welcome to Aloha Desktop plugin development! This guide will walk you through creating your first plugin.
Video Tutorial
Watch this quick 15-minute tutorial on how to prototype your first AI app with Aloha Desktop:
Your First Plugin
This simplified approach is perfect for learning and for plugins that don't need NPM dependencies.
In this tutorial we'll create an extremely simple plugin that provides a sayHello tool, so that when you ask to greet someone it uses that tool.
Project Structure
Create a new directory for your plugin:
your-plugin/
├── src/
│   └── index.esm.js              # Main plugin entry point
├── public/
│   └── icon.svg                  # Plugin icon
└── manifest.json                 # Plugin manifest file
Step 1: Write Plugin Code
Create src/index.esm.js:
export default class SayHelloPlugin {
  constructor(context) {
    this.context = context // the plugin context allows interaction with the agent
  }

  async toolCall(toolName, args) {
    if (toolName !== 'sayHello') {
      throw new Error(`This tool is not available in **Concierge Plugin**`)
    }

    return `Hello my dear **${args.personName}!**`
  }
}
Step 2: Define Plugin Manifest
Create manifest.json to describe your plugin capabilities. This is crucial for AI to know in what circumstances it should use your plugin and what arguments are expected.
Note: The better you describe the tool and its parameters, the more accurately the AI will be able to use it.
{
  "manifestVersion": 1,
  "name": "Aloha Concierge Plugin",
  "version": "1.0.0",
  "description": "Greets new guests",
  "author": "Your Name",
  "icon": "public/icon.svg",
  "main": "src/index.esm.js",
  "tools": [
    {
      "name": "sayHello",
      "displayName": "Concierge",
      "description": "The agent can use this tool to greet the user",
      "parameters": {
        "type": "object",
        "required": ["personName"],
        "properties": {
          "personName": {
            "type": "string",
            "description": "Person to which say hello"
          }
        }
      }
    }
  ]
}
Step 3: Install the Plugin
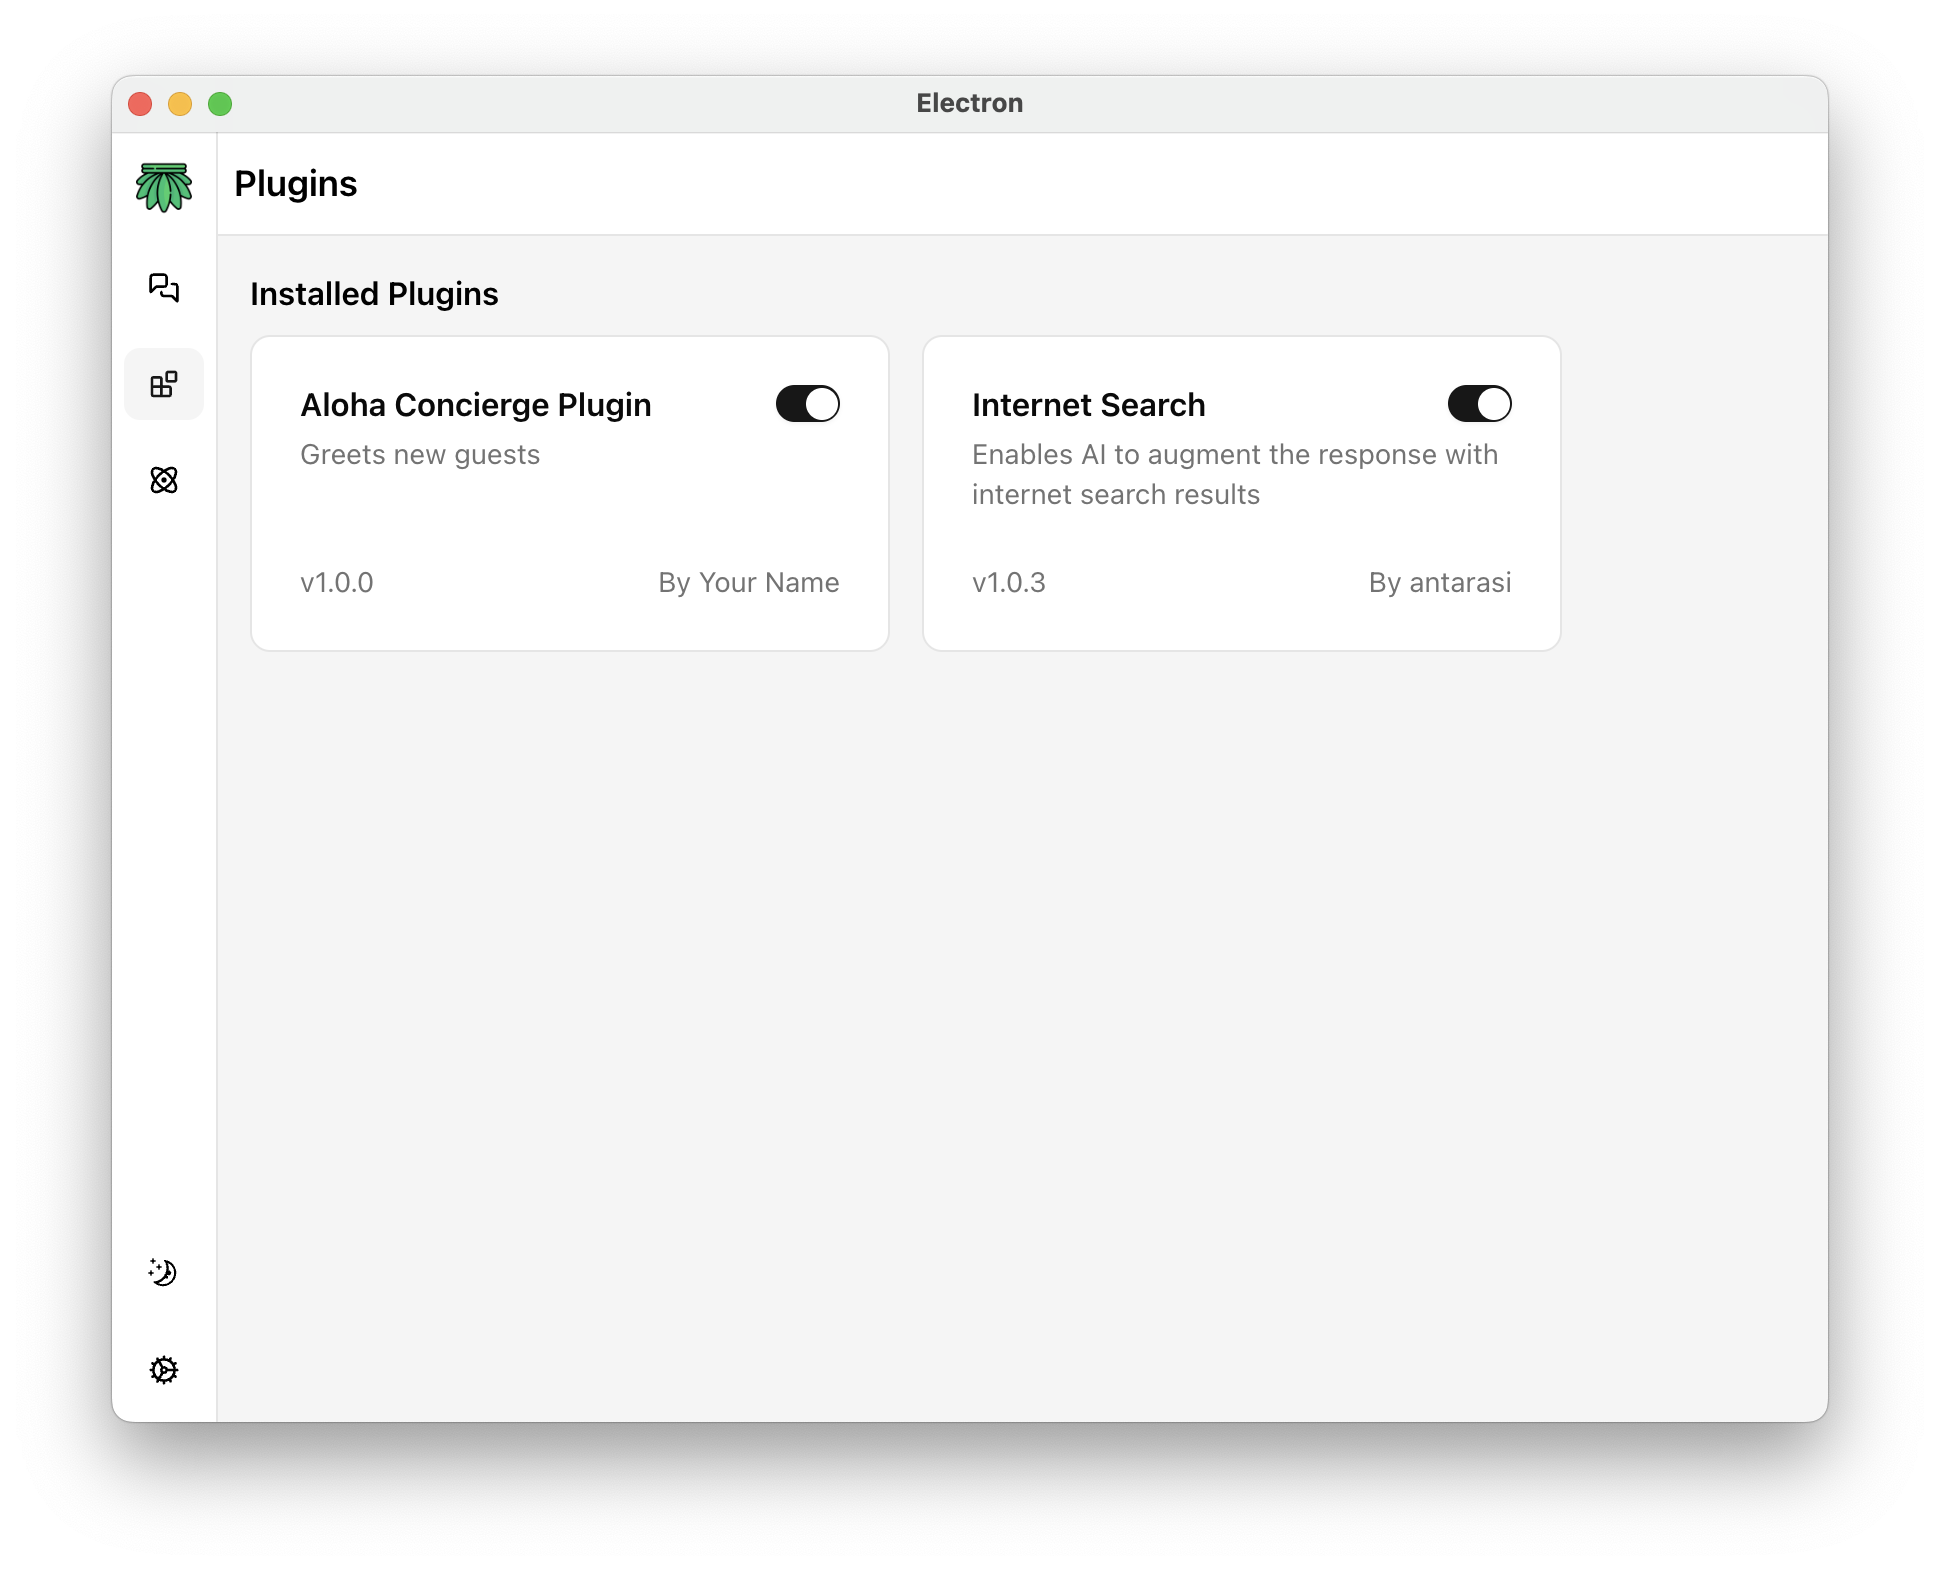
In Aloha Desktop, navigate to the Plugins section and enable your plugin by clicking a toggle.
Step 4: Use Your Plugin
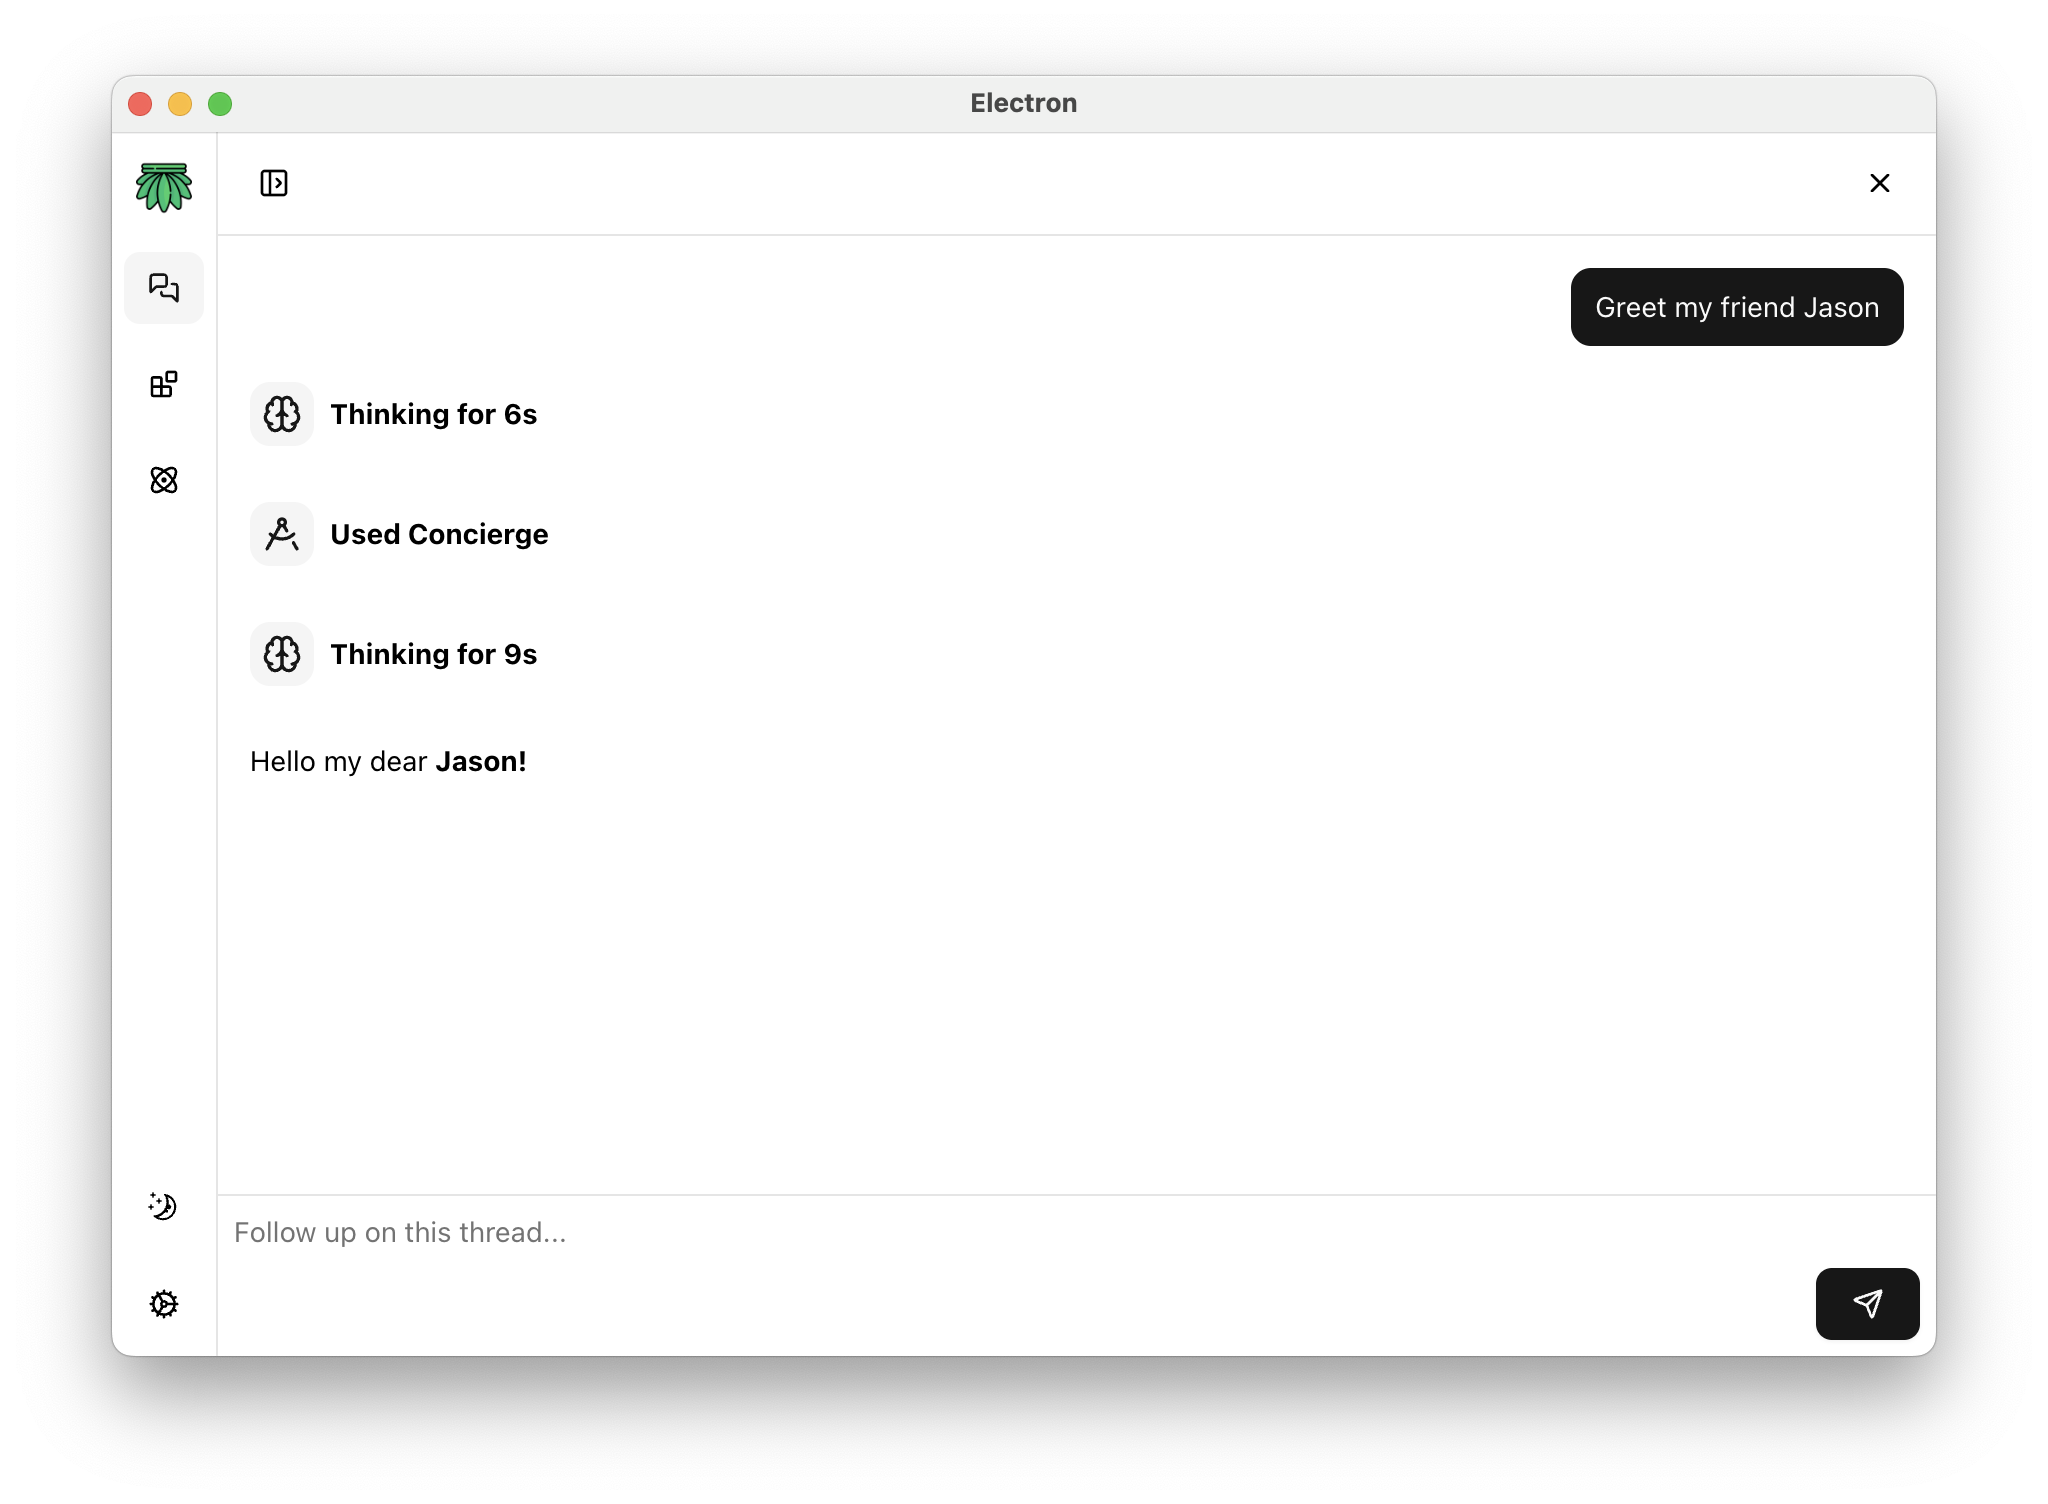
Once enabled, the Aloha agent can automatically use your tool when appropriate. Try asking:
"Greet my friend Jason"
The agent will call your sayHello tool with the appropriate parameters.
Next Steps
Adding NPM Dependencies
If your plugin needs to use packages from NPM, you'll need to use a bundler. See Adding NPM Dependencies for details on using the vite-aloha template.
Publishing Your Plugin
Ready to share your plugin with others? Check out the Publishing Guide to learn how to make your plugin available in the Aloha Desktop marketplace.
Explore the SDK
Learn about advanced features:
- CLI Tools - Automate manifest version management
- Logging - Debug and monitor your plugins
- Rendering Web Content - Fetch web content like in a browser
See Examples
Check out real-world plugin examples to see different implementation patterns and best practices.